#
Imagine you’ve just connected your business to the power of WhatsApp messages are flowing, customers are engaging, and automation is doing its magic.
Now, there’s just one last piece to keep it running smoothly: adding your payment method.
At WABOOM, we make it simple to activate and manage your WhatsApp Cloud API billing through your Meta Business Account.
Follow these steps to set it up correctly it takes just a few minutes.
Step 1: Go to Meta Business Settings #
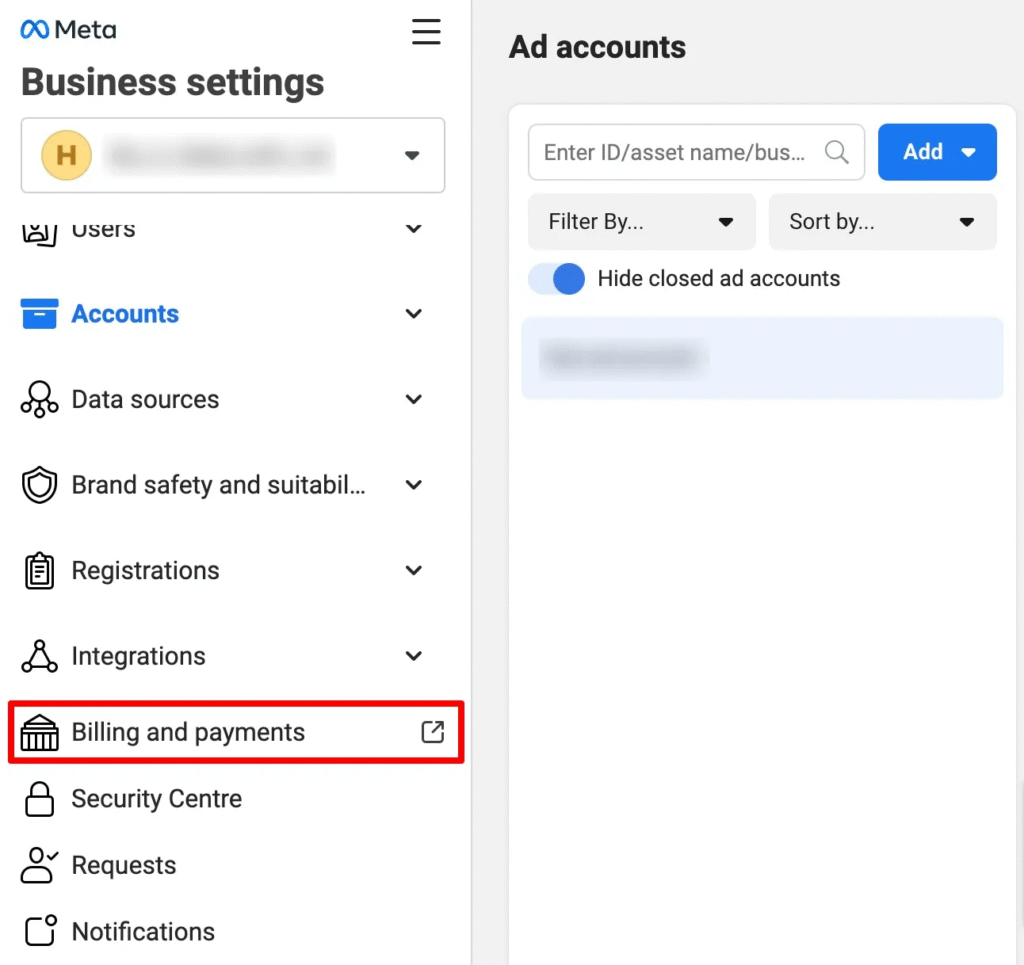
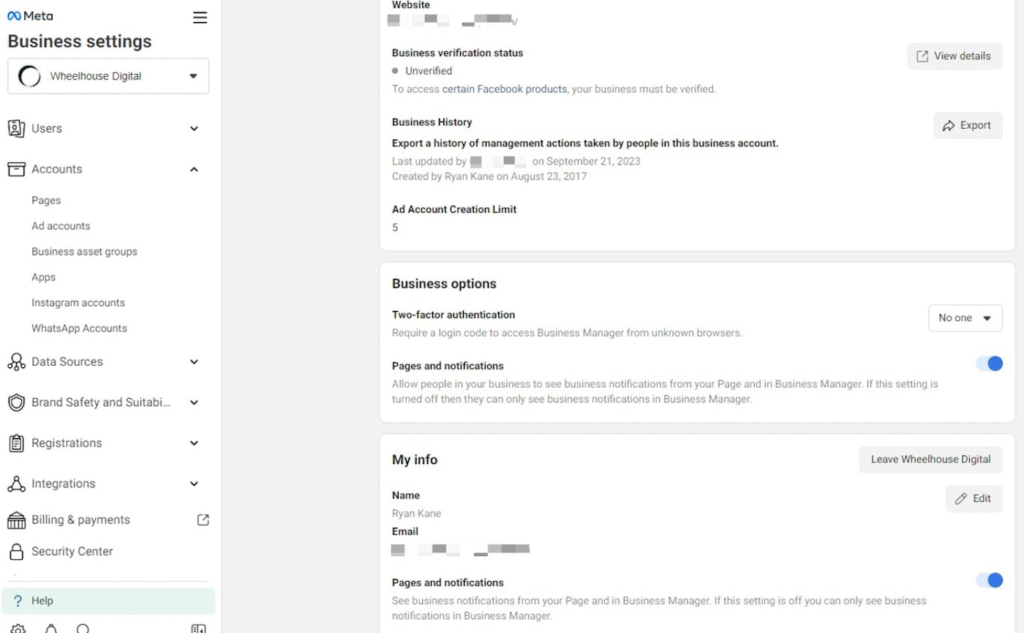
Open business.facebook.com/settings and log in using the Meta account that manages your business.
In the left menu, click Billing → then select Payment Methods.

Step 2: Choose Your Business Account #
If you manage multiple Business Accounts, make sure you select the one connected to your WhatsApp Business Account (WABA) used with WABOOM.
You can check your WhatsApp account connection inside Meta Business Manager.
Step 3: Add a New Payment Method #
Click Add Payment Method.
Meta supports several options depending on your country:
- Credit or debit card (Visa, Mastercard, Amex)
- PayPal
- Direct bank transfer (available in selected countries)
Enter your payment details carefully make sure the billing name and address match your business registration details.

Step 4: Set It as Your Primary Method #
After saving your card or PayPal account, select Set as Primary.
This ensures all WhatsApp API conversation charges are automatically billed from this method.

Step 5: Check Billing Settings for WhatsApp #
Go to Meta for Developers → WhatsApp Overview and open your app’s Billing Section.
Here you can:
- View your conversation usage and spending
- Set spending limits
- Add or remove payment methods
For WABOOM users, your WhatsApp API billing will automatically sync once your Meta payment method is active.
Step 6: (Optional) Add Backup Payment Method #
To avoid interruptions in your messaging service, add a backup payment method.
If your primary card fails, Meta automatically charges the backup keeping your WhatsApp automation running smoothly.
Why This Step Matters #
Without an active payment method, Meta can pause your WhatsApp Cloud API access meaning your automations, chatbots, and campaigns may stop delivering messages.
Adding a valid payment option ensures your communication never gets disrupted.
At WABOOM, our platform automatically tracks your API usage, so you always stay in control of your billing.

Quick Recap #
| Step | Action |
| 1 | Open Meta Business Settings → Billing |
| 2 | Select the correct Business Account |
| 3 | Click Add Payment Method |
| 4 | Save and Set as Primary |
| 5 | Verify inside WhatsApp App Billing Section |
| 6 | Add a backup method for safety |


